Tips to do Waxing at Home
Waxing is the best way to remove body hair. Removing body hair by waxing has many benefits. It not only removes body hair but also removes dirt, grease, and tan along with the hair. It furthers make the skin, soft, smooth and supple. Therefore, women mostly opt for waxing in place any other method of hair removal. The only disadvantage is the messy process of hair removal involving the use of sticky wax. This is one reason why women chose to do it in parlor or saloons. Moreover, the process of hair removing using wax is little tricky and time-consuming.
But if you feel lazy to go to the parlor to it or have budget constraint then you can do it at home. You just need to know the right method to it. Whether you want to make your own homemade wax or want to use the readymade wax, this article will help guide you to do waxing at home. Before learning the method to do waxing, let’s first learn the method to make wax at home.
Using homemade wax will save a lot of your money and it is a safer option for your skin too. Actually, you prepare your waxing material from the scratch. It is very simple to make and super easy to use. And DIY (Do it yourself) is the current trend whether craft, homemade or beauty. So before learning the tips, tricks and steps to do waxing, let’s first learn the way to make wax at home.
How to make wax at home?
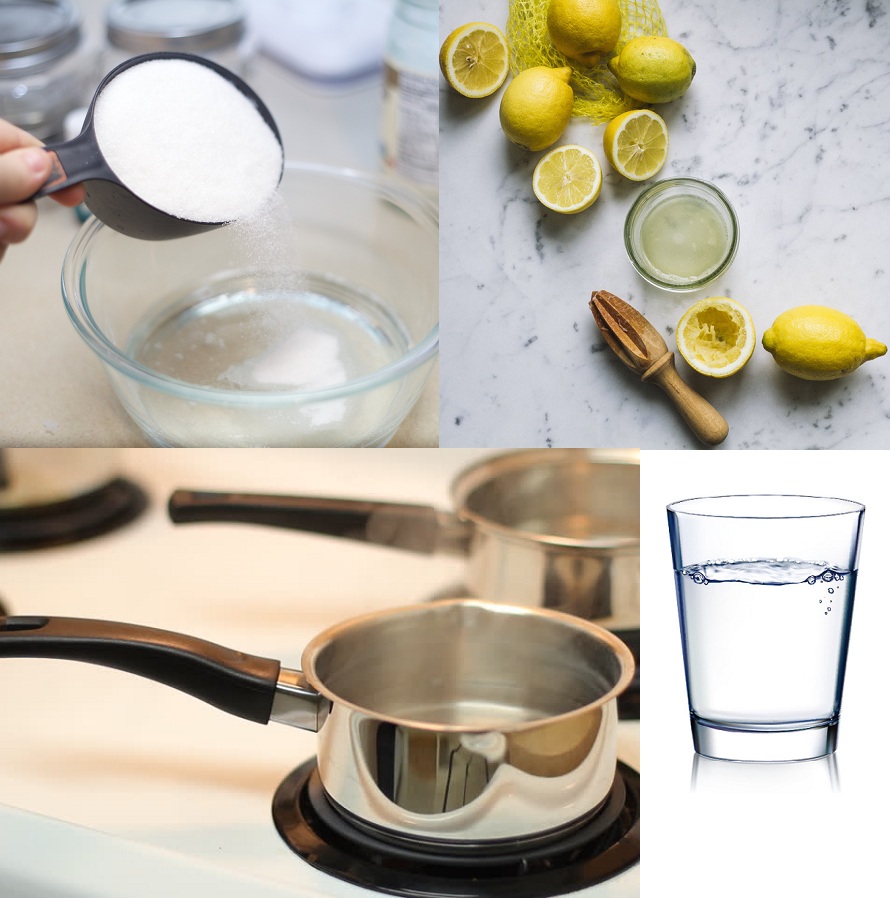
You just need the following ingredients and items to prepare the wax at home.
- A cup of sugar
- 6 to 7 tablespoons of water
- One spoon of lemon juice
- A wide vessel to boil the ingredients
Method of making wax:
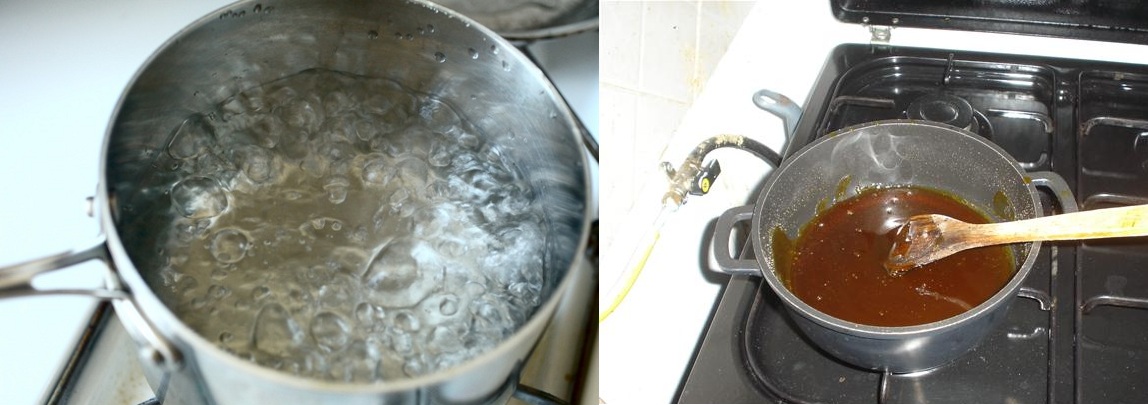
- Take all the ingredients in the vessel, put the vessel on the stove and let it boil.
- Slowing the sugar starts melting.
- Meanwhile, keep stirring the liquid so that no lump is formed.
- If the consistency is too thick, add a little amount of water to get the required consistency.
- Once the liquid turn brown and reach a thick consistency turn off the flame.
- You must boil the liquid until 4 to 5 shimmers.
- Put the container in the fridge for an hour.
- After refrigeration, the wax is ready for use.
Now that you know the method to prepare wax at home, you are good to go for waxing. Let’s have a look at steps to do waxing at home.
Step 1: Keep the Waxing Kit Ready
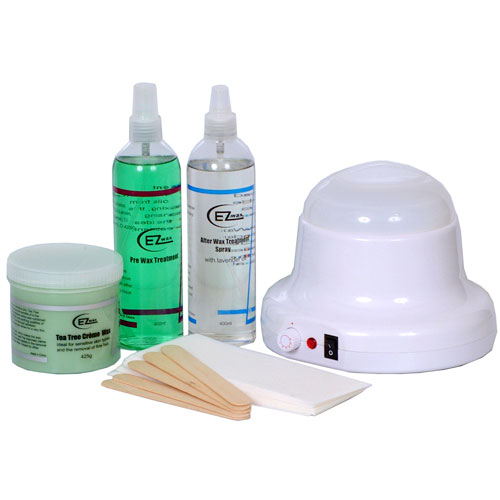
Obviously, before anything, you need to keep your waxing kit ready. It is important because of some steps during waxing, you really have to do things fast. And in the meantime if you keep looking for kit and tools then waxing will go for a toss.
All you need in your waxing kit are body scrub, talcum powder, wax, wax strips, pain numbing cream and body lotion. And if you are buying your wax from the market then choose your wax wisely. You must buy good quality wax for sensitive skin. It is better to buy an aloe-vera based cream to be on the safer side.
Step 2: Exfoliate
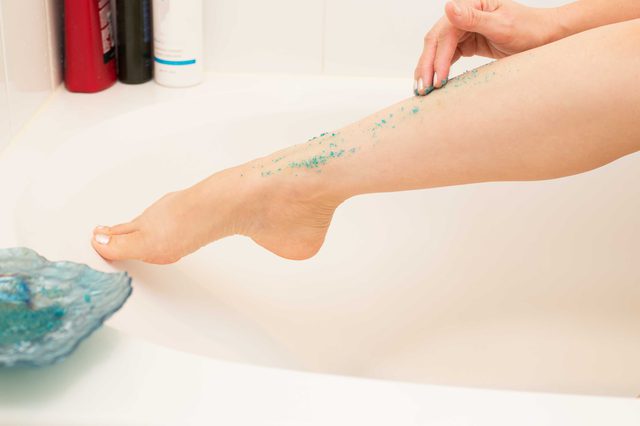
Exfoliating is necessary before waxing as it helps to remove excess oil and dirt and prepares the skin for waxing. It further softens the body hair and opens up the hair follicle, thus making waxing easy and less painful. Not only before waxing, you must also do waxing 2 to 3 times a week to keep the skin soft and smooth.
Step 3: Watch the Hair Length
Waxing is preferred at an optimum hair length. You must ensure that the hair length is not so short and not so long before waxing. If the hair length is very short then the wax will not be able to remove the hair properly. And if the hair is too long, it would be a painful waxing. Therefore, ensure that the hair length is not less than ¼ inch and not more than ¾ inch long.
Step 4: Make Yourself Ready for the Pain
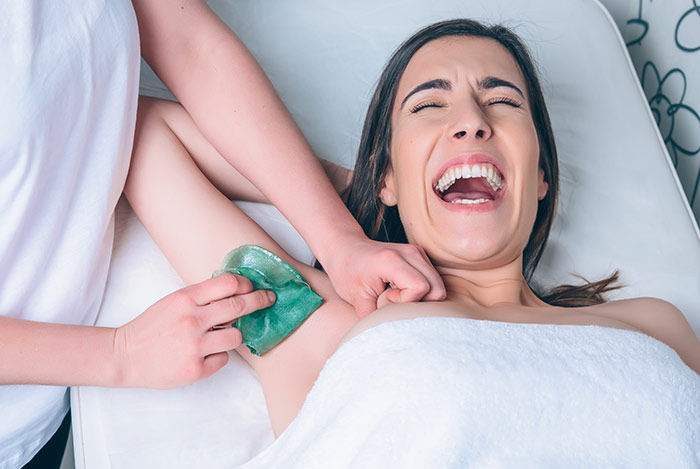
The process of waxing definitely involves pain. You should make yourself ready for the pain either by taking a painkiller or by applying a pain-numbing cream on the part of the skin to be waxed. It is advisable not to wax your skin during your menstrual cycle as the skin is more sensitive during this period.
Step 5: Avoid Wet Skin Condition
Waxing happens best on dry skin. So, any kind wet condition like sweat, oil, and moisturizer should be avoided on the skin before waxing. Oily or wet skin spoils waxing by clinging the wax to the hair. This is the reason why talcum powder is applied on the skin evenly before waxing.
And if the weather is very humid, ensure that you perform waxing under air conditioner to avoid any inconvenience.
Step 6: Monitor the Temperature of the Wax
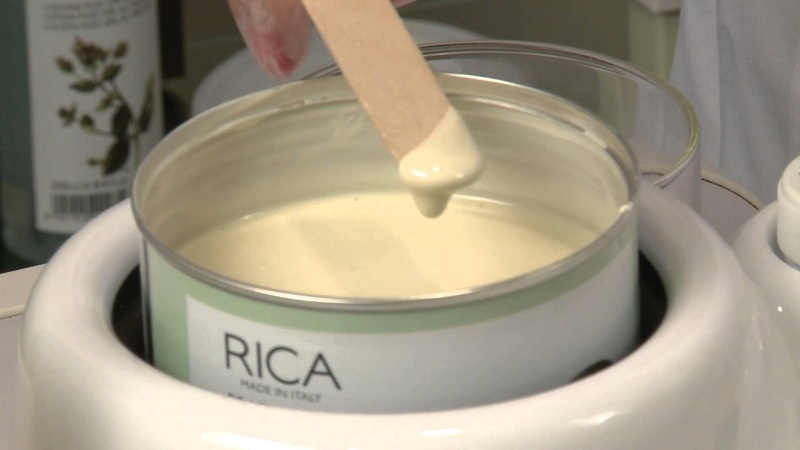
If you are using hard wax then make sure that you monitor the temperature of the wax. As hard wax must be heated before it is applied. If the wax is cold then it will not evenly spread over the skin. And if the wax is too hot then you may end up burning your skin. So, the best temperature to start with your waxing is comfortably warm when it doesn’t burn your skin. But if you are using cold waxing strips then you don’t need to watch on the temperature. It is safe to apply directly on the skin.
Step 7: Watch the Direction
Direction plays an important role in waxing. You need to wax in the proper direction to pull the hair from the skin. Ensure that you apply the wax in the direction of the hair growth and you should pull the wax strip in the opposite direction. While pulling the strip makes sure the skin is close to you and pull it fast in one go. As waxing is already stressful for the skin, never repeat waxing more than one time on the same part of the skin.

Step 8: Clean your Skin
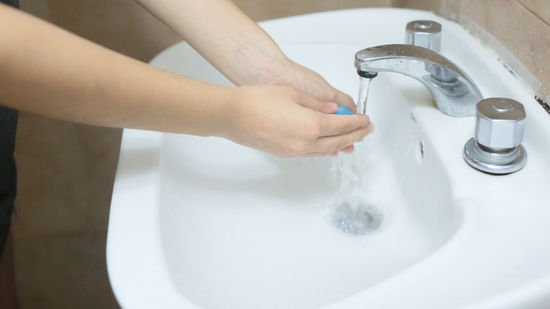
Cleaning is important after waxing because the residue of wax may be left behind on the skin. And you feel sticky if the residual wax remains on the skin. So, it is recommended to remove the leftover wax by wiping with a towel dipped in cold water or directly wash off with cold water. Never use hot water as it may hurt your skin. And apply stringent at the end followed by moisturizer.
If you are doing wax for the first time then ask someone to help you’re in the process especially you have a hands-on experience of the method.
Step 9: Moisturize the Skin
After you have cleaned your skin after with water and pat it dry with a towel. It is the time to apply the sooth the irritation that might have been caused due to waxing. Moisturizer soothes and closes the open pores as well that sometimes occurs due to waxing. Use the moisturizer that suits your skin. If you have extremely dry skin then go for thick and oily moisturizer.
Now that you have learned how to do waxing at home, let’s learn some tips that would further help you to do it properly at home.
Some Tips to Help You do Waxing at Home
Do not try to Wax Unreachable Area
Never try to wax the body part which is difficult for you to reach. As while removing the wax you may leave some of them on the skin which can cause skin irritation and allergies. So, it is advisable to do wax on the area which is easily reachable by hands like upper lips, eyebrows, hands, and legs. Body parts like back, underarms, and bikini area are best when done in the parlor.

Learn the Tricks of Eyebrow Waxing
Eyebrow waxing may sound easy to do but it is the trickiest part. Unlike other body parts, you need to give proper shape to the eyebrow while waxing as a little diversion may spoil the entire look. Eyebrow waxing needs careful attention to provide a proper shape which requires hands-on experience. And you need to train on this before you give it a try.
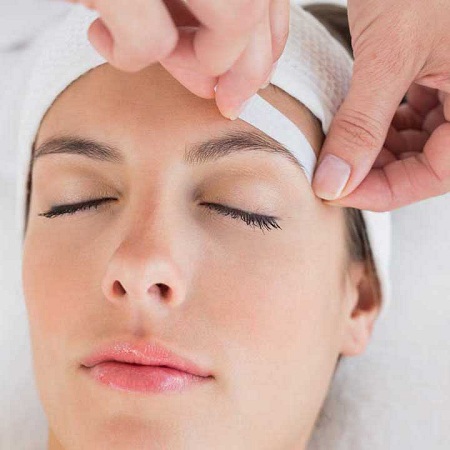
Material for Waxing
There is a wide variety of material available for waxing like cream, lotions, wax, and wax strips. You need to choose from them wisely keeping in mind of the type of skin you have. You can’t just use anything for waxing your skin. Moreover, you must go through the precautions and instruction closely before using any of the waxing material.
Wax on Clean Skin
It is important to clean your skin before start waxing. A skin may contain dirt, oil, sweat or cream which may hinder with waxing. So, it is strictly recommended to remove any residue or particle on the skin before waxing. Dry and clean skin is the best skin for waxing.
Never Wax on Small Hair
You should never wax on small hair. Waxing on small hair is painful and difficult. Always watch the length of the hair before you plan to wax. The hair must be more than ¼ inch of length to go for waxing.
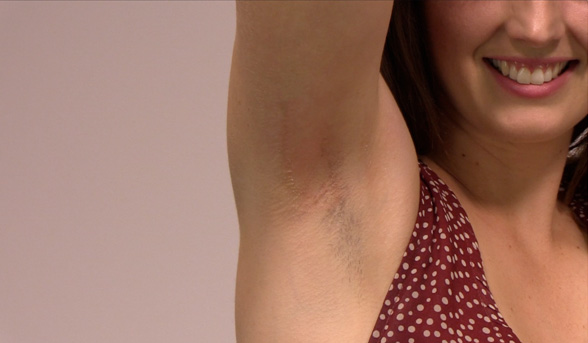
Avoid Burning the Skin
If you are hot wax then there are chances that your skin may get burned which is a common thing about hot waxing. So, you need to take precautions when applying hot wax on the skin. You must always check the temperature of the wax before applying it on the skin or blow the wax on the spatula to make the temperature bearable for the skin.
Careful Pull the Wax Strip
Waxing may seem an easy process but if you go wrong then you can hurt the skin. So, from applying wax to pulling up the strips, you need to be extra cautious in the whole process otherwise it would become a painful process. While pulling the strip, you need to focus on the direction in which you are pulling the strip. The wax strip must be pulled off all the way to the other end of the skin. It would be highly painful if you pull the strip along the direction of the skin.
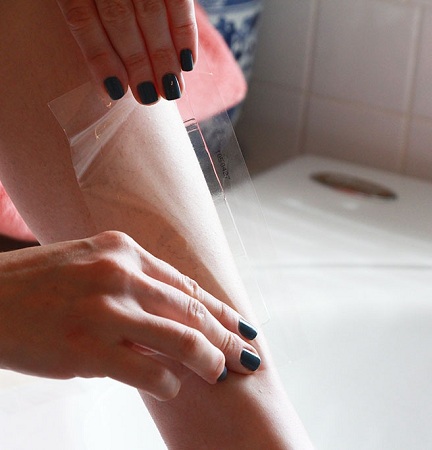
Never Wax on the Same Area
Once you have waxed a portion of the skin, never reapply wax on the same portion. Try to tweeze the hair if any left behind to give a neat look. But do not try to apply wax again in the same place as it may cause burns, bruises, and rashes on the skin.
Pamper the Skin
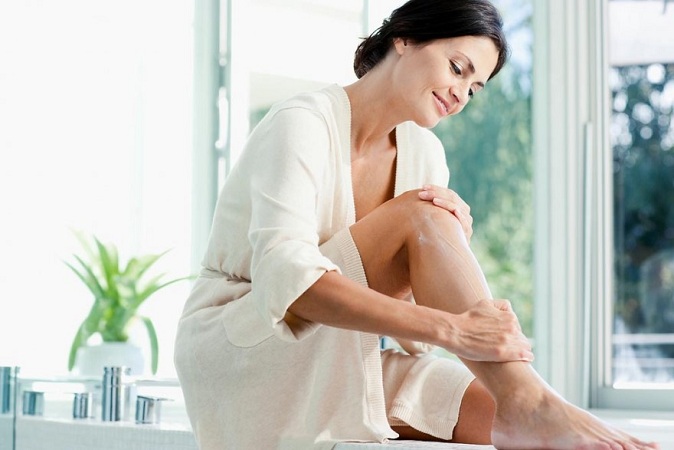
Skin goes through pain while waxing. A lot of moisture and oil is removed from the skin when you do waxing on the skin. Therefore, after waxing, you need to pamper your skin to soothe and calm it. And the best way to do it is by applying a good quality moisturizer or lotion on the skin. In some parlor, astringent is applied on the skin to avoid any bruises after waxing. You can also apply astringent followed by moisturizer on the skin.
Practice
After all, to master any process you it to practice. And it is the same for waxing. You will not learn the entire process overnight. You need to practice the process of applying and pulling strips for some time to become an expert.
Waxing is the best method among all hair removal methods. It only removes the extra hair from your skin but also provide an extra smooth skin at the end of the process by removing tan, dirt, and oil from the skin. It is been practiced since ages. Follow the steps and tips given above to perform it yourself at home. Now that you know the tricks and tips, I am sure you will master it in no time.


