How To Contour Round Face – A Comprehensive Guide For You
‘Contouring’ – the word has taken the makeup world by quite a storm in recent times and it is not surprising at all. After all, not many makeup techniques can turn a simple girl-next-door face into a glam doll with an oh-so-chiseled appearance, isn’t it?
No matter what your face shape is, contouring can bring a drastic change to it. With the best features carved out and accentuated precisely, a contoured face can give you a look close to perfection.The best part is, one does not need to be an expert for practicing contouring.
For beauties with a circular face shape, contouring can give an amazing slimming effect with just a few products. All you need to do is determine how round your face is, know what face contouring actually is, and follow the best practices of round face contouring. We give you all small details about how to add definition to your face and get those coveted sculpted look easily. Keep on reading:
Identify A Round Face Shape
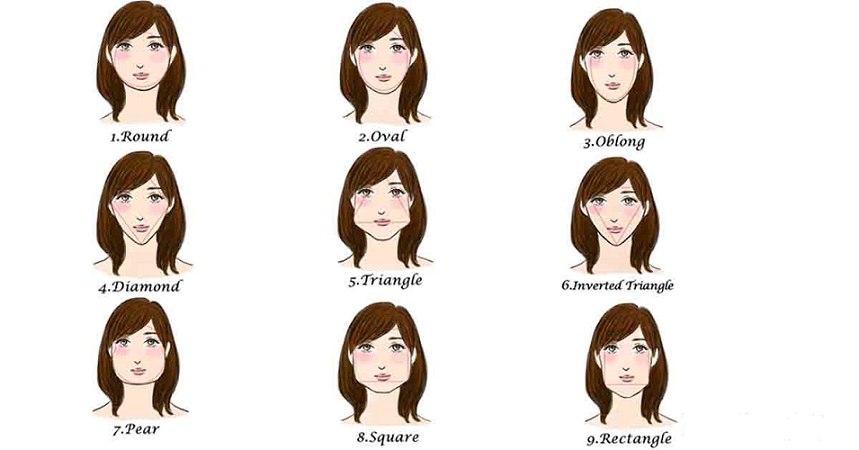
It is essential to determine your exact facial shape prior to choosing any makeup technique. This way you can get a sharper and well-balanced aesthetic while beautifying your face like a pro. According to scientists, there are around nine disinct face shapes and ‘round’ is one of the most basic ones among them. So, do you have a perfectly round face?
Well, consider both the length and width of your facial bone structure. If they are almost equal in measurement with soft and orbicular corners, you are definitely a round-faced beauty. You need to highlight your features and bring them forward in order to neutralize the softness in your face and make it look a little elongated. Put emphasis on the bridge of your nose, the areas above your cheekbones, and underneath the eyebrows right above your eyelids. It will bring attention to the center of your face and create a contrasted look.
What Is Face Contouring?
Before we dig deeper into the steps of contouring a round face, here is everything you need to know about the process itself. Face contouring uses specific makeup products and technique to create shadows and highlights on face for enhancing the best features and getting a more sculpted look. From creating angular definition to slimming the face on the sides, contouring can transform the appearance of the face completely just in a few simple swipes.
The ‘red-carpet staple’ makeup technique had long been a ‘Hollywood secret’. However, with more and more beauty influencers talking about it online, it has become easy for any makeup enthusiast to boost their already fabulous features in the most flattering ways and make the most of this contouring magic.
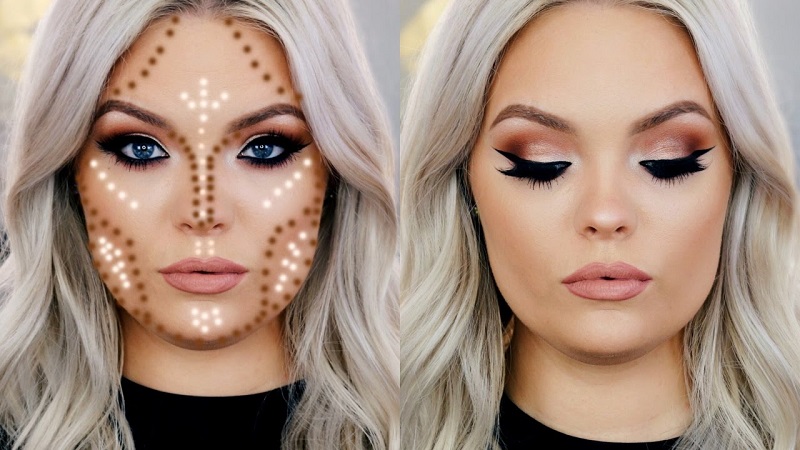
Steps To Contour A Round Face
Now, it is time to reveal the sculpting secrets for women who want to become the most photogenic version of themselves by reducing the volume of their cheeks and creating an angular facial outline. Check out below the simple step-by-step contouring guide to mastering the art of chiseling round faces:
- Prep Your Skin For Contouring
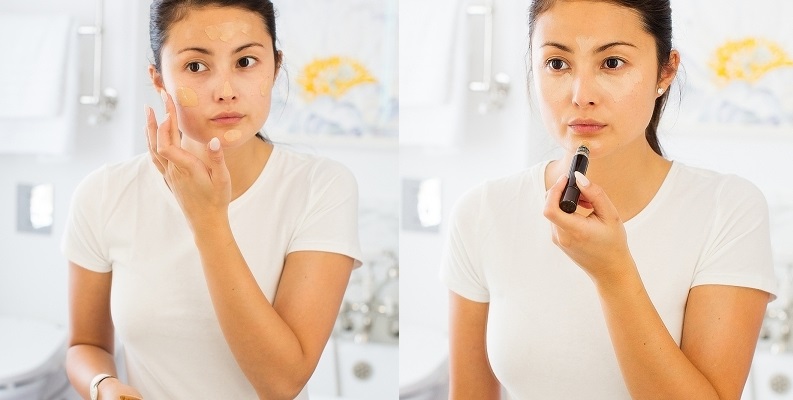
When it comes to preparing your round face for a contoured look, nothing can be better than creating a smooth and even base. The first and foremost step is to prep up the face for carrying out all shadowing and highlighting game like a pro. The more you focus on prepping your skin, the better your contouring products will glide over it. As a result, you will get a flawless contoured look that will last for a longer time. Here are the steps:
- Start with priming your face. Take your favourite primer and apply it all over your face in small dots. Massage gently with your fingertips and blend the product into your skin nicely.
- Your concealer is not only meant for your undereye dark circles, but also for all other uneven patches you have on your face. Apply it liberally to the skin in between your eyebrows, over your eyelids, underneath your nose, and around your mouth. Pat with your fingertips and spread the product out well in order to cover up all shadows and redness.
- As you have hidden the unevenness and created an illuminated effect, seal it now with a foundation. A non-greasy, cream-based formula will work really well by blending seamlessly and creating an overall even look.
Tip: Always apply concealer before foundation. The reverse practice will ruin the effort instead of setting everything into place. Also, if you have a double chin, dab some concealer at the lower side of your chin and blend thoroughly by following a back-and-forth motion.
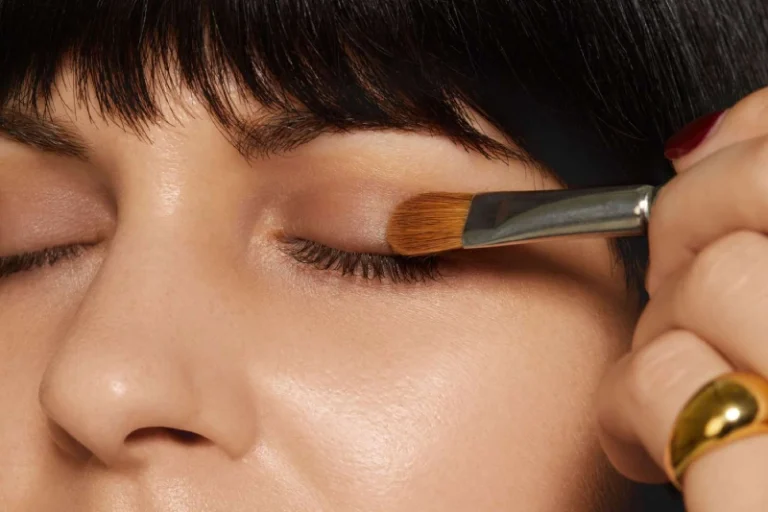
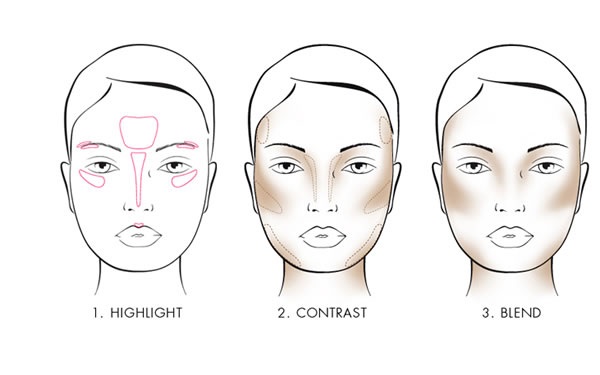
- Highlight Your Best Features
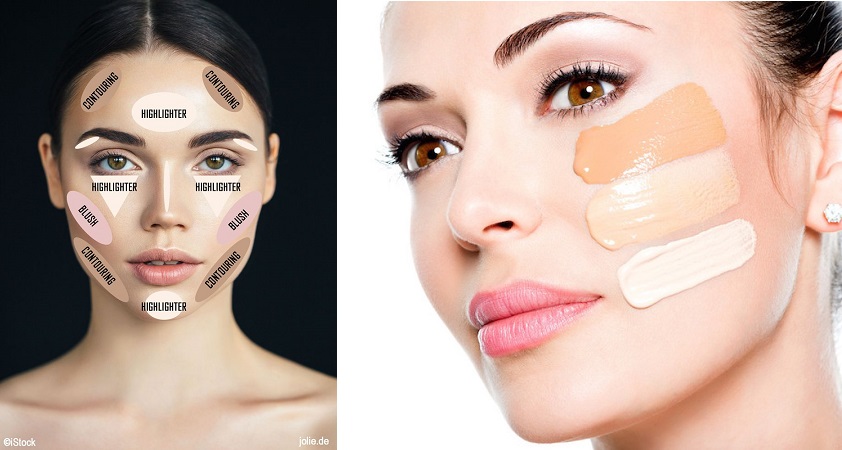
A prepped up face needs to be highlighted in an efficient manner right before applying the contouring products. Draw attention to your best features and get a fresh and youthful look at the same time by applying highlighter to the high points on your face. The most common highlighting practice for a round-shaped face includes the following:
- Forehead: Apply the highlighter at the centre of your forehead in a circular shape or in the form of ‘X’.
- Nose: Reach the bridge of your nose and apply the product in a thin straight line along it.
- Eyebrows: Dab some highlighter on your eyebrow bones as well as above them.
- Eyelids: Apply the product to both of your eyelids so that they are highlighted entirely. Also, do not forget the inner corners of your eyes.
- Cheekbones: Use a little highlighter on the upper parts of your cheekbones.
- Lips: Apply a small dot of highlighter to your ‘cupid’s bow’ or ‘the centre point right above your upper lip’.
- Chin: Apply highlighter to your chin again in the shape of ‘X’ or just draw a triangle there with its base being right beneath the lower lip.
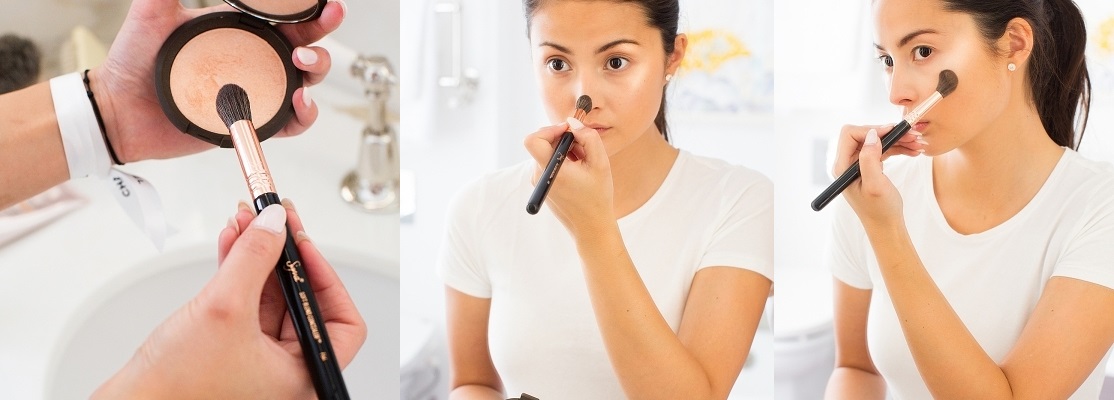
- Create Shadows As Needed
Once you are done with the highlighting part, focus on shadowing. The trick is to find a product of warm taupe shade that can perfectly counterbalance the shade you have used for highlighting. Here is how to carry out the process of application:
- Forehead: Dab some contouring product along the sides of your forehead. Also, reach your temples and apply it in the shape of ‘C’.
- Eyebrows: Apply the product along the bones of your eyebrows.
- Nose: Create shades on both sides of your nose by applying the product directly.
- Cheekbones: Starting from the centre of your ears, draw a curved line with your product and continue up to your jawline.
- Lips: Add a bit of product to the centre of your upper lip.
This step can be made even more effective with the use of a bronzer. Just a little touch of the right shade of bronzer on the apples of your cheeks will accent your features, thereby strengthening the contouring effect significantly.
- Add A Hint Of Colour
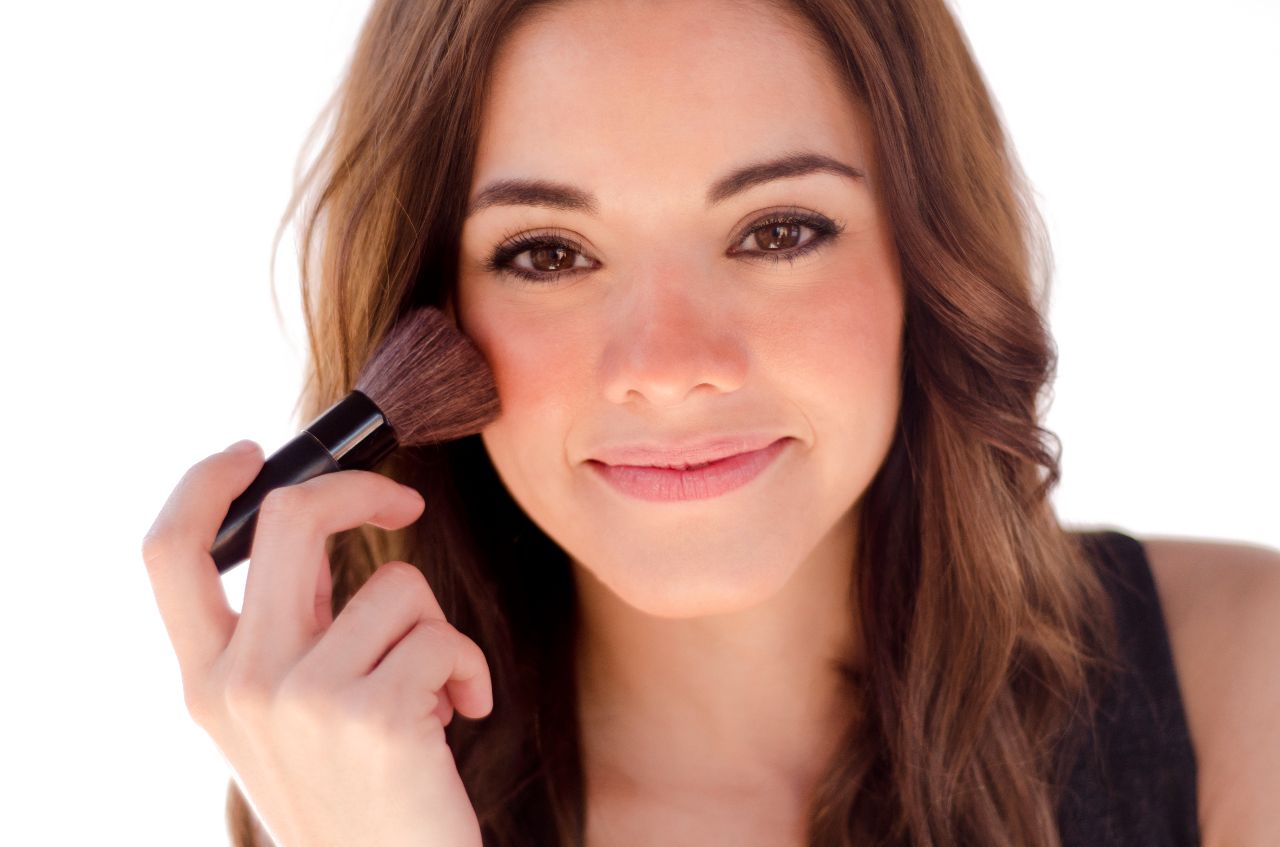
Among all those highlights and shadows, a hint of warm rosy glow will work like magic. Pick the perfect shade of blush based on your skin tone and lift your cheeks beautifully. However, you should be aiming at reducing the volume from your cheeks with your strokes, thereby faking a longer face. Learn the right method here:
- Apply the blush along your hairline starting right from the middle of your ears and blend very well towards your mouth rather than the nose.
- Smile to find the apples of your cheeks and swipe the blush onto them gently. Go for two short swipes and blend the product down towards the earlobes as well as up towards the temples.
- Swipe the blush on the centre of your chin and your eyebrow bones respectively in a delicate manner.
- Blend, Blend, And Blend
Now, here is the simplest yet the most vital part of the process. Blending is the key to a flawless contouring and the way you need to blend should be completely depended on the shape of your face. Find below the right blending technique for round-faced beauties, which will make any harsh line softer and add a length to the face shape:
- Take a small brush and blend the highlights properly in a gentle rolling motion. Start from your forehead and blend it towards the bridge of your nose. Make sure to blend your brow bone and cheekbone highlights in the direction of your temples. The highlight at your cupid’s bow should be blended very nicely to enhance the outline of your lips. Blend the highlighter applied to your chin towards your jawline.
- Next, take a bigger brush and blend the contour by following large circular swipes. Thoroughly blend the product into your hairline from your forehead. Blend very well at your eyebrow bones, sides of your nose, and upper lip. Your cheek contour must be blended down your jawline.
- Add A Finishing Touch
Finally, end your face contouring like a professional makeup artist. Finishing off the whole process in an appropriate way will keep your products at place and give you a long-lasting contoured look. Here is how to finish it off:
- Take a translucent powder of your choice and apply it all over your face. For a clean matte finish, use the brush in a pressing motion instead of swiping.
- Focus on your T-zone as well as the undereye area as they get oily easily.
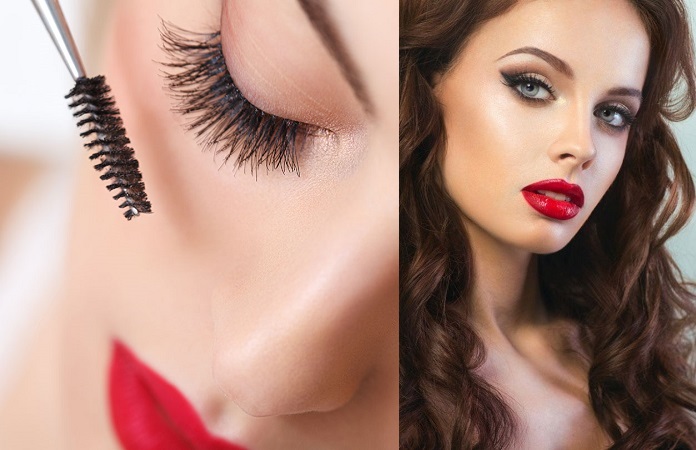
- Finish off the entire look with a thick coat of mascara and a bright lip colour.
Voila!
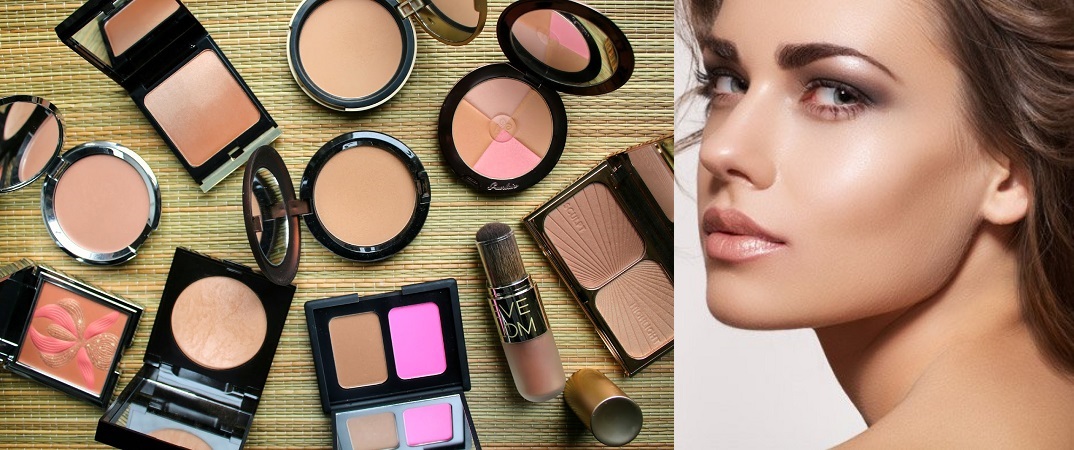
Choose The Right Contouring Products
Now, as you have already mastered the art of contouring your pretty round face, it is time to know how to take your look a notch higher by picking the best contouring products. No matter how perfect your work is, wrong products can ruin your efforts completely. So, here are the expert tips for choosing the right contouring products:
- For highlighting, always select a highlighter that is 1-2 shads lighter than your actual skin tone. For shadowing, choose a product that is almost 1-2 shades darker than your natural skin tone.
- Try to skip bronzers that come with orange undertones as it will give you a sheer tanned look. It is better to choose a greyish taupe shade that can make your face appear naturally chiselled by creating shades. A warm gold shade is universal as it can be used on all skin tones for creating the most natural look.
- The shade of your contour powder should suit your skin tone well as it needs to be applied to all over your face. The consistency of the powder should be very fine and it should be easy to blend in order to create a smooth even final look. However, avoid shimmery ones as they will add light to your round face instead of creating depth.
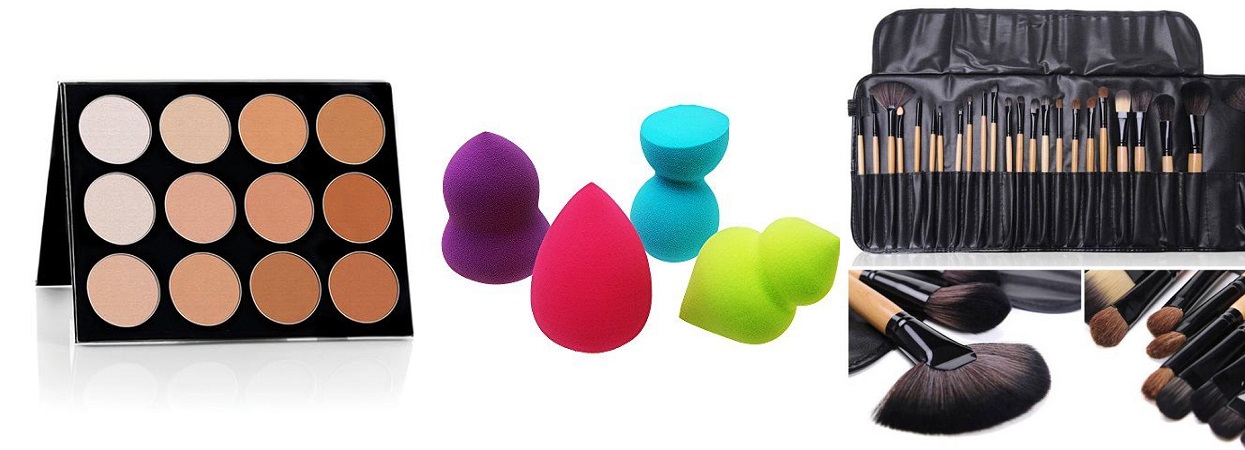
- Try to use a god quality makeup sponge for seamless blending. It will help you contour your round face so beautifully that you will get a natural flawless look every time.
- Make sure that your brush arsenal is well-equipped. Use a flat top brush to apply foundation, an angled brush for applying bronzer, and a dense fluffy brush for the application of powder. These will give you excellent control over your contouring.
Best Tips For Contouring Round Face
Sculpting a round face simply by contouring not only enhances the best facial features but also helps in boosting confidence. If you want to upgrade your face contouring routine a bit, do not miss these expert tips:
- Always use your contouring products in the right order as it will ensure how smooth and even your contour will look.
- You can try contouring your beautiful round face just with foundation. Yes, instead of using highlighter and bronzer, simply take three different shades of foundation based on your skin tone and get the best naturally contoured look.
- Never ignore contouring your forehead even though you have a round face. A forehead shadow helps in keeping the look cohesive.
- Contour your temples by blending the contour powder towards your hairline. This is an important step to make your circular face look sleek.
- Pay close attention to the placement of contouring product while sculpting your cheekbones. Pucker up and find the cheek hollows to do it right.
There you go! Hope this comprehensive guide to contouring round face helps you achieve your desired appearance. Happy contouring!