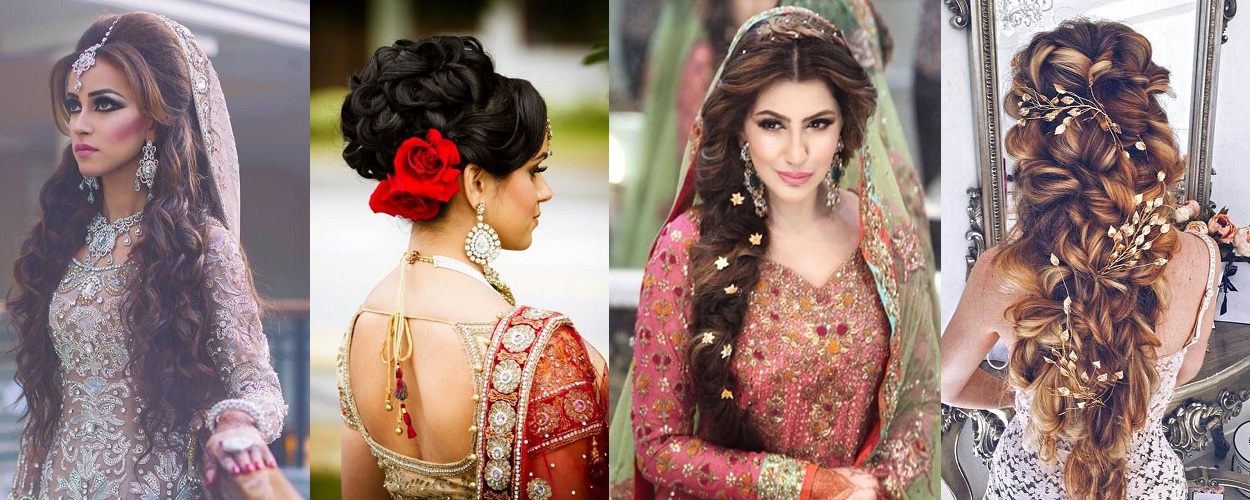
Top Bridal Hair Style for Your Wedding Day
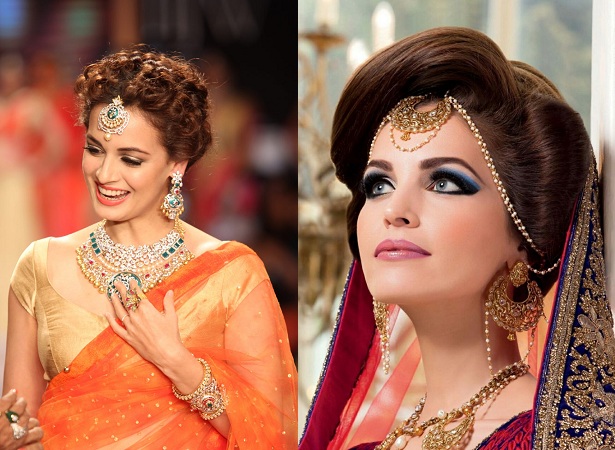
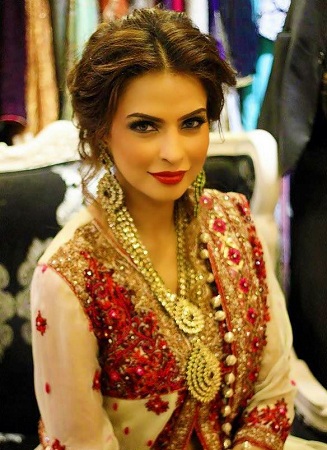
Indian wedding is all about beautiful and traditional attires (lehenga, saree, and gharara), heavy jewelries, dark makeup, and of course enticing hair styles. All these make an Indian bride the cynosure of the evening. And a would-be Indian bride is very particular and tensed about her makeup, hair style, dress and jewelry. A month-long preparation is also no enough for her. It is natural to go tense as Indian bride is the most beautiful bride in the world. And any Indian bride has to live up to the expectation.
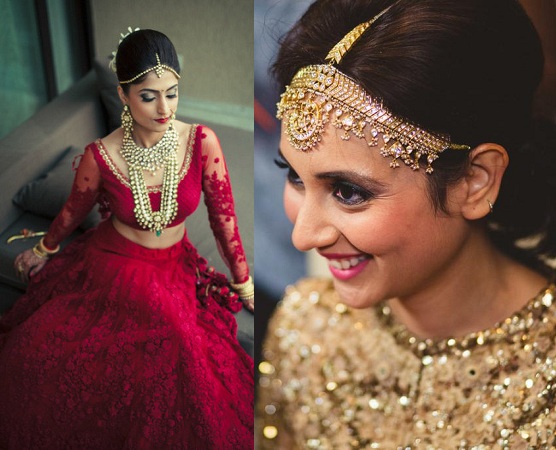
While dress and attire is all set before the marriage day. But the thought and questions about the makeup and hair style make any would-be bride go crazy. Lots of questions start hovering on her mind mainly about her hair style. But now you don’t need to worry so much as this article will reveal some of the best hairstyles for your wedding day. You choose the one that will suit you best prior to your wedding and to be the most beautiful bride ever. We have clubbed and listed here the most beautiful hair styles. Follow the list below to know in details.
Criss Cross Flower Bun
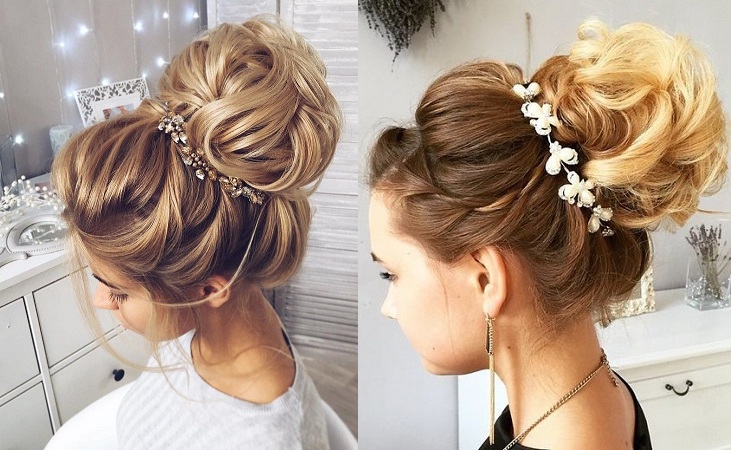
Bun goes very well with any traditional Indian attire, be it a lehenga, saree or gharara. A simple bun endorsed with flowers just looks elegant and classy. You can go for a donut bun for your wedding. It also keeps your hair neat and tidy. And the flowers are like icing on the cake. Before you start with the hair style, let’s know the list of things you may need to make this bun.
Articles Needed to Prepare this Bun
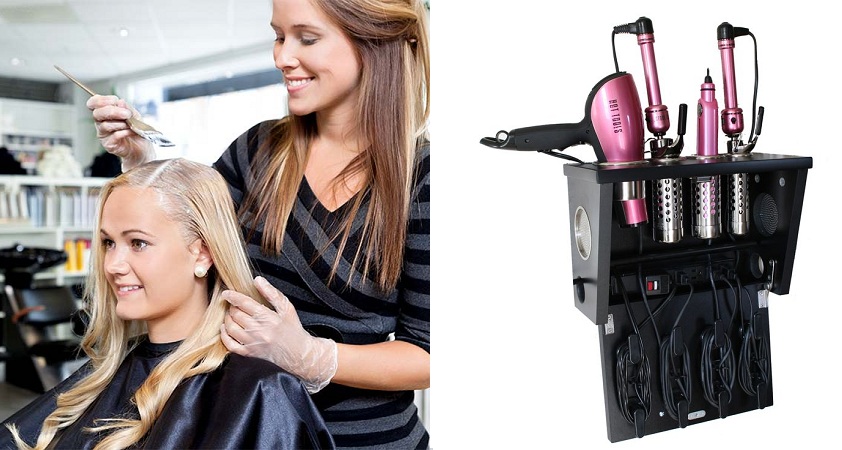
- Comb both wide-toothed and thin-toothed
- Hair serum
- Hair spray
- Rubber band
- Hair U pins
- Flowers of your choice
Styling Steps
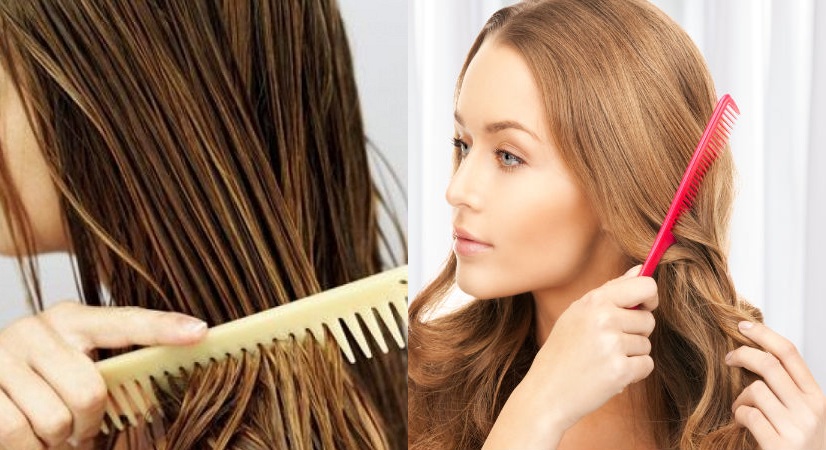
- The first basic step you must follow before starting hair styling is detangling your hair with a wide toothed comb. The smoother the better! Smooth hair is easy to manage and carry any hair style with precision.
- If your hair is very fizzy then detangling may be difficult. So, in order the ease the process, apply hair serum which will be smoothened the hair in no time.
- Now that your hair is ready, divide it into 2-inch sections from your left and right temples.
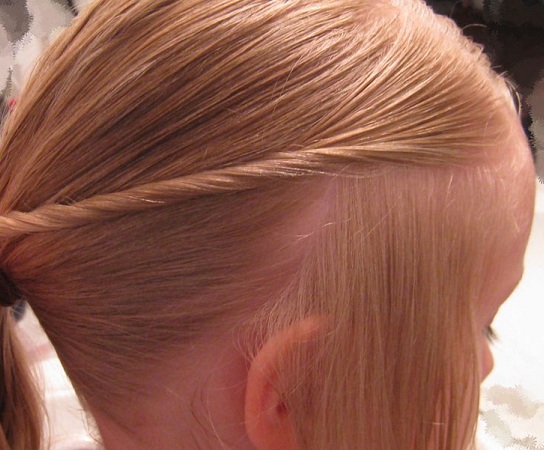
- Take the rest of the hair and do back comb with a fine toothed comb. Now tie this hair portion into a pony tail few inches above the nape of the neck.
- Hold the end of the ponytail and insert it into the hair donut.
- Now roll the hair donut up towards the length of the ponytail wrapping the hair around it.
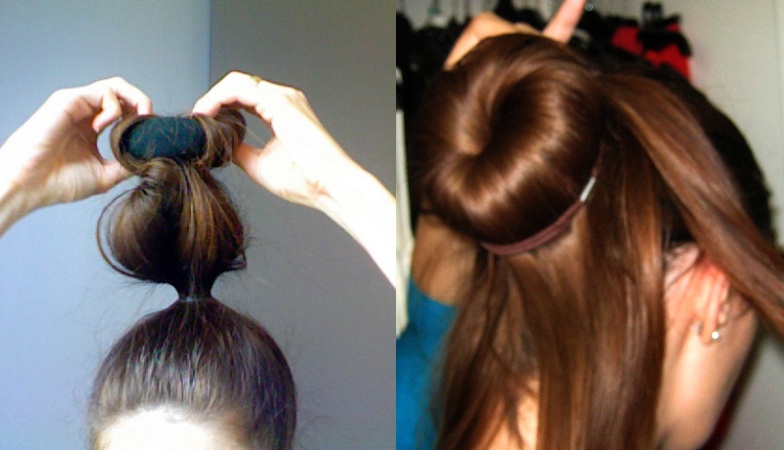
- Once all the hair is inserted inside the donut, spread the hair evenly around the donut. You should spread the hair in such a way so that that it reaches the ponytail base and provide a neat look.
- Secure the donut with the U pins.
- Repeat the same process with the other section of the hair.
- Now it is the time to adorn your bun. Take few flowers and insert them with the help of bobby pins.
- Finish the styling by spraying hairspray to give it and final touch up. Hair spray ensures that the style remains in place for a long duration.
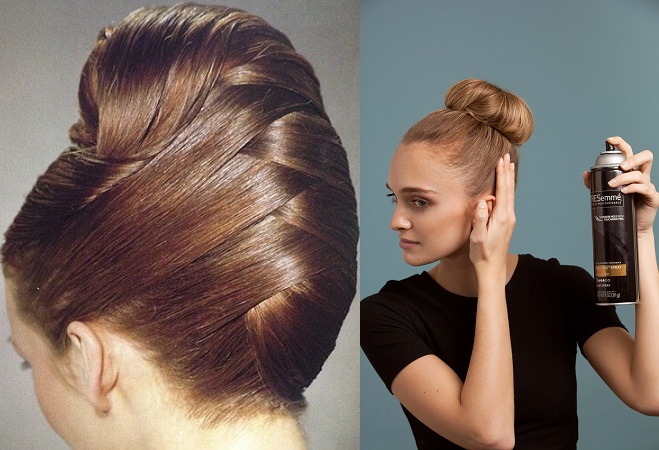
Side Parted Ringlet Bun
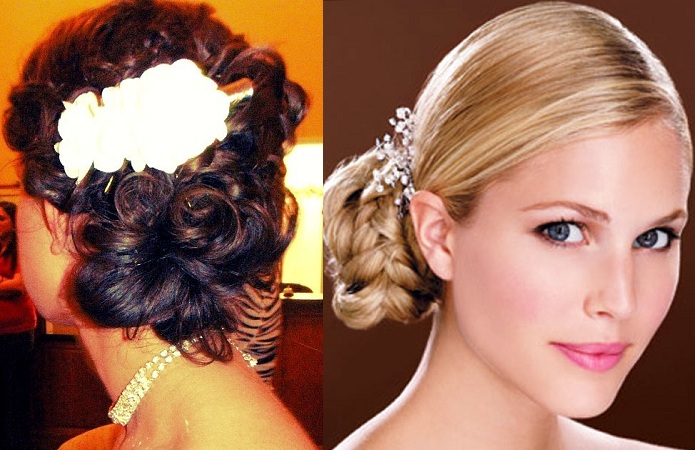
If you are a nature lover and wants to imbibe it in your hair style then this is the right hairstyle for you. Side parted ringlet bun is inspired by nature which embellishes floral motifs and decorated with a gold comb in a wonderful leaf design. Though the leaf themed designs are little old fashioned, still you can go for it if you want to carry a retro look on your wedding day. So, here is the list of items you need to make this hair style.
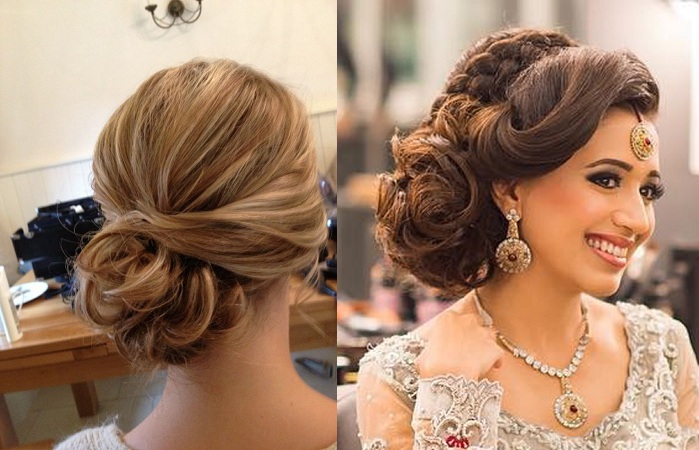
Articles Needed to Prepare this Bun
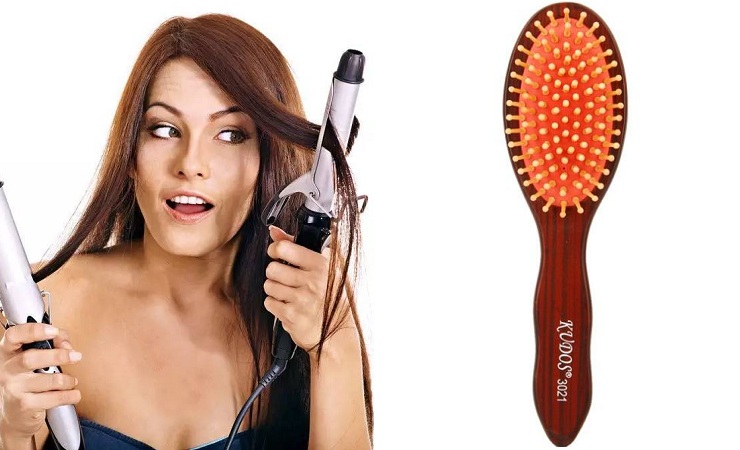
- Good quality hairbrush
- Heat protectant
- Hair straightening iron
- 3/4th inch hair curling iron
- Hair elastic
- Texturing Hair Spray
- Bobby pins
- Strong hold hairspray
Styling Steps
- In order to make any hair style, detangling your hair with the brush is the first step you must follow.
- Now apply heat protectant on the hair. It protects the hair from the harmful effect of heat.
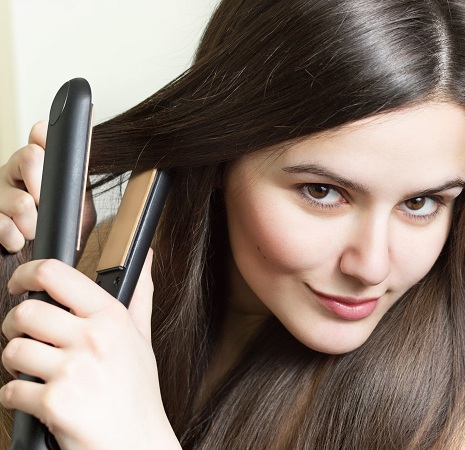
- Take the front hair portion, section it and straighten it with the help of hair straightener.
- Make a ponytail by tying the hair into the middle level.
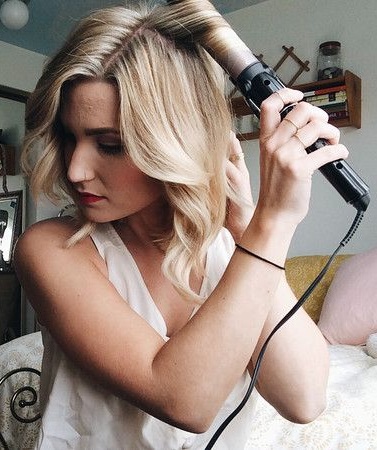
- Take a small section of the ponytail one by one and curl all the hair.
- Then evenly spray texturizing spray on the curls to make it look uniform and neat.
- Now all the curl individually one by one, roll them to form a ringlet and pinned them to the ponytail base.
- Repeat the above step until all the ponytail hair is rolled and pinned up.
- Now come to the front side, take a section of hair from one side of the parting, turn backward, and then pin it above the bun. Repeat this step on the other side of the parting.
- Fix and insert the leaf hair pin or a flower pin on one side of the bun.
- Finally, spray hair spray over the hair to set the style.
Bumped Up Curls
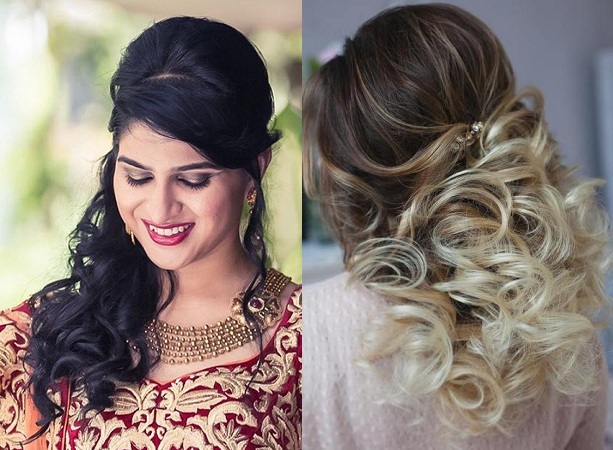
Bumped up curls is quite a common hair style since years. This hair style goes well both with casual and party wear. If you want a simple yet elegant hair style for your wedding day then this hair style would be the best for you.
Articles Needed to Prepare this Bun
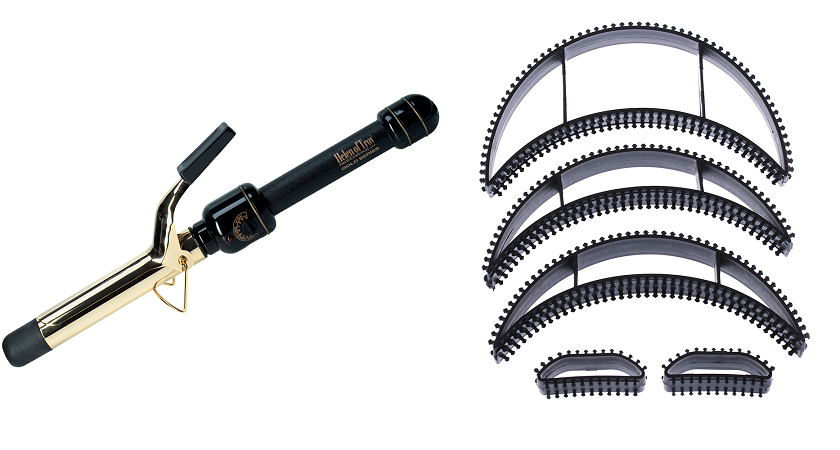
- Hair strand heat protectant
- 1 inch curling iron
- Bumpit for elevated hair bun
- Good quality fine-tooth comb
- Bobby pins
- Hair spray
Styling Steps
- Brush the hair evenly to make it smooth and detangled.
- Now apply heat protectant over the hair
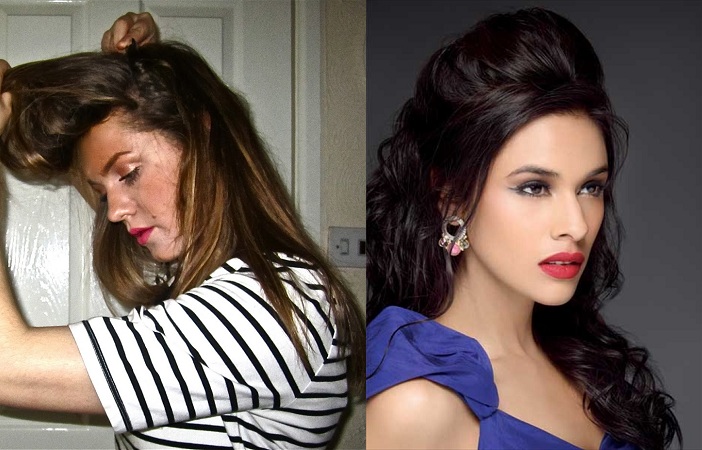
- Insert a bump it on the crown of the head and cover it evenly with hair.
- Curl the lower section of the hair taking one section followed by others. Ensure that all the lower part of the hair is uniformly curled.
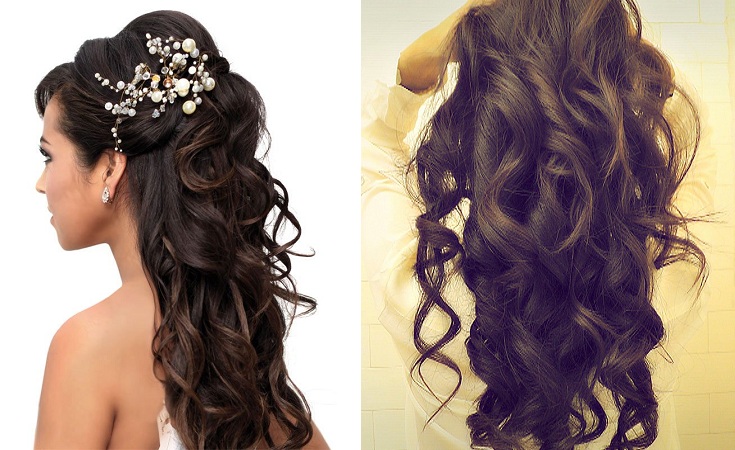
- Leave a small portion of hair called bangs in the front and then pin the rest of the hair at the back side taking them beyond the bump it.
- Spray some hairspray to give a final touch up.
Classic Twisted Side Bun
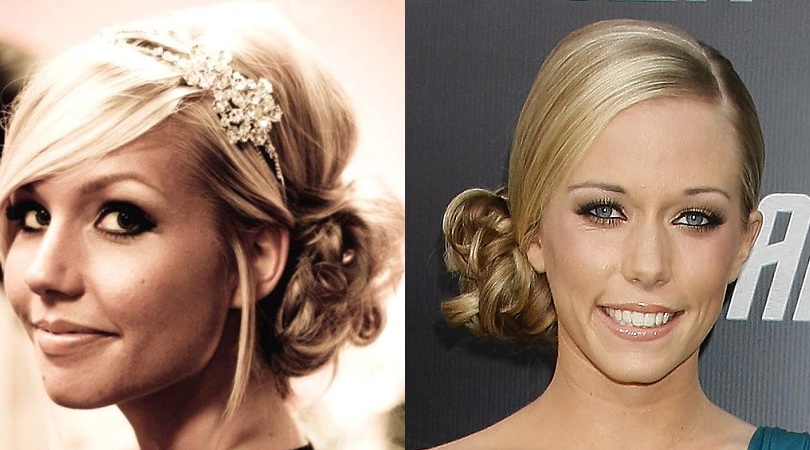
Though lehenga and saree are the most common attire any Indian bride would go for, but nowadays it is not the only option. Recently, western outfits are currently in fashion. And to match the dress this type of hair style is the best choice for western wear. This classy and elegant hair style goes very well with pale and neutral color dresses.
Articles Needed to Prepare this Bun
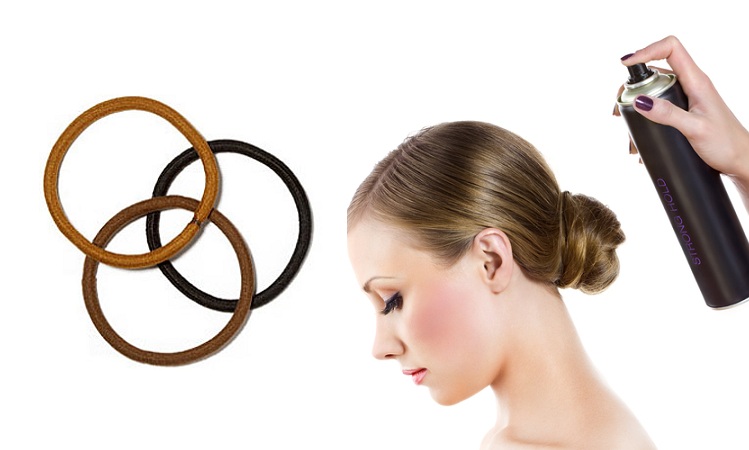
- Hair brush
- Hair heat protectant
- Hair straightening iron
- Hair elastic
- Bobby pins
- Good quality hairspray
Styling Steps
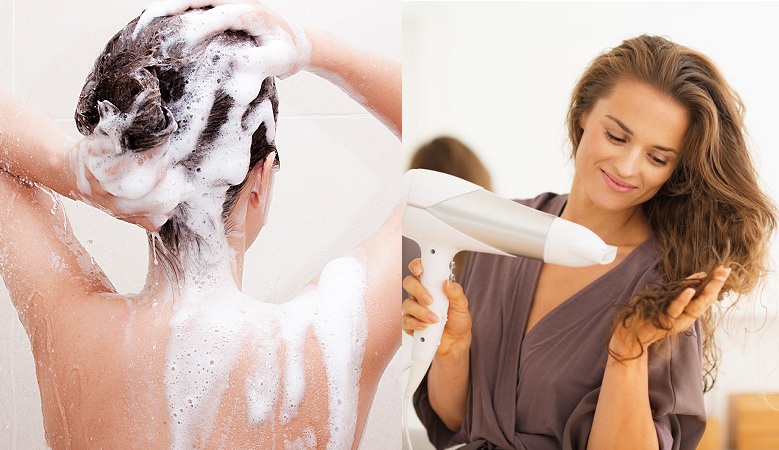
- Make the initial preparation by washing, drying, combing the hair and application of heat protectant over the hair.
- Straighten the hair in sections with the help of the hair straightener.
- Now tie the hair into a low side ponytail leaving the front portion.
- Take a 2 inch portion of the ponytail hair and roll it to make a bun and tuck it with the help of hair pins.
- Then take another 2 inch bunch of hair, roll it and wrap around the first bun. Pin it to keep it in place.
- Repeat the preceding step to finish all the hair in the ponytail.
- Come to the front side, make a section of the hair in the front.
- Take 2 inch section of the hair from the parting and divide the portion into further two sections. Now make French twisting simultaneously by adding more hair with each twist.
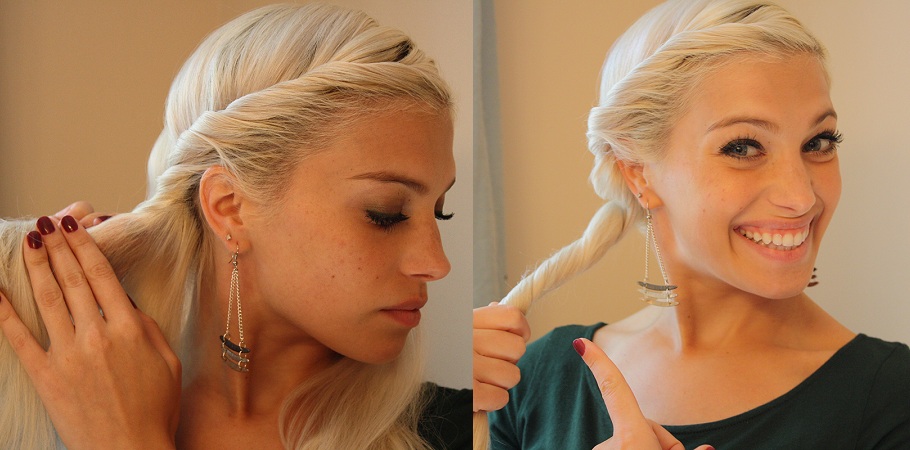
- When all the hair is finished with French twisted, twist the hair again in simply twist and keep the hair over the bun and insert pin to keep it intact.
- Perform the same twist and tugging on the side.
- Finally, spray some hairspray to give a professional look to the style.
Curly Tendrils
Curls are always in fashion and can be flaunted at any occasion, be it your wedding day or a reception party. They look gorgeous with hanging hair tendrils down the neck. The beauty of the hair is even enhanced by the traditional Indian jewelries and attire. So, give this hairstyle a try and make it a memorable one.
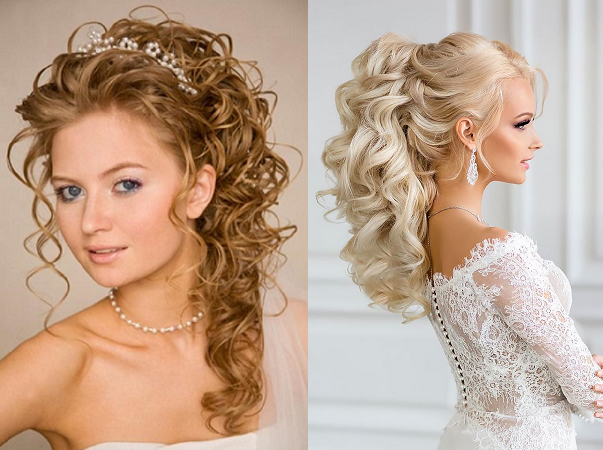
Articles Needed to Prepare this Bun
- Hair brush
- Curling hair iron (1 inch)
- Hair donut
- Bobby pins
- U pins
- Hair spray
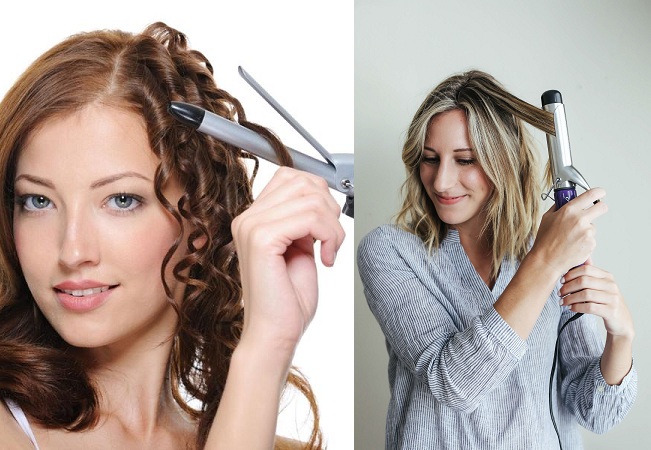
Styling Steps
- Prepare the hair by applying heat protectant in a clean head.
- Taking a 1 inch section of the hair, curl it. Then make a high ponytail.
- Now take the hair donut and place it inside the ponytail.
- Hide the hair donut by rolling and inserting pins over the ponytail.
- Ensure that the rest of the curls fall loosely on the neck so as to give tendril effect.
- Then take out some hair strand from the front to provide a neat look to the face.
- Finish the style by splashing hairspray over the hair.
Gorgeous Center Parted Bun
This bun provides all the drama and punches needed for the bridal look. This hair style centers around the common middle bun with lots of twisted curls over it. This simple yet elegant hair style will give the perfect bridal look. So, just go for it to make your wedding look even more special.
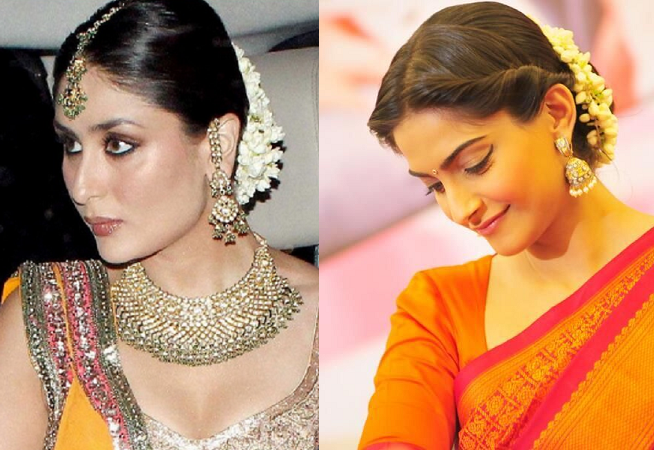
Articles Needed to Prepare this Bun
- Hair brush and thin toothed comb
- Hair texturing spray
- Hair elastic
- A big hair donut
- U pins and bobby pins
- Hair serum
- Hair spray
Styling Steps
- Prepare your hair beforehand by applying hair texturing spray.
- Divide the hair from the middle.
- Now make an absolutely high ponytail.
- Then fix a hair donut on the bottom of the ponytail.
- Roll a section of hair from the ponytail and wrap the hair around the hair donut. And leave the other section as it is.
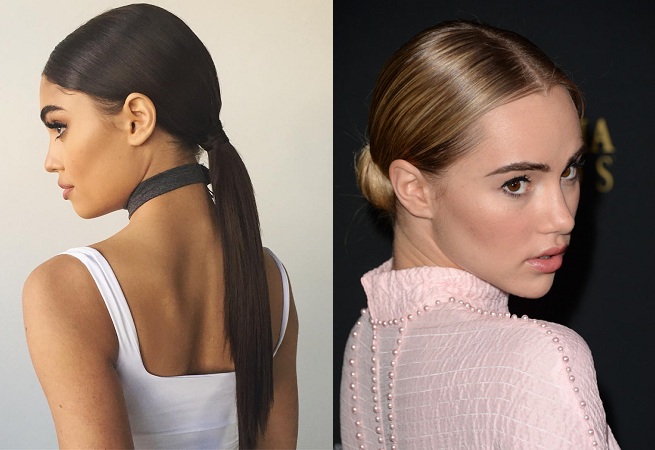
- Pin the rolls neatly on the hair donut.
- Now take the other section and divide it in to further thinner sections.
- Then pick the thin sections, make ringlets by rolling them and fix them around the bun with the help of pins.
- Use the fine-toothed comb to give a little volume to the bun. You can do this by inserting the end of the comb into the hair.
- Generously apply hair serum over the hair with the help of the comb to make it frizz free.
- Spray hair spray over the hair to provide a final touch up.
Simple Loose Braid
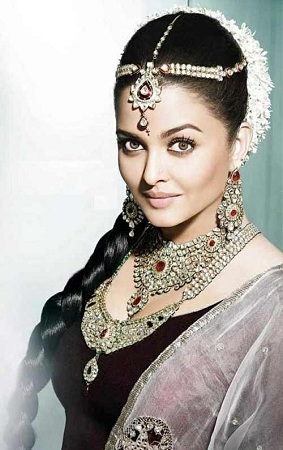
Sometimes simple hairstyle with little makeup and attractive attire steal everyone’s attention. You don’t need to go loud on your makeup and hair do to look beautiful and attractive. So, opting for simple hairstyle can be fun and enticing. And if you love simple look then choose this hairstyle for your wedding day. A simple loose braid just looks awesome with a heavy silk saree which is iconic to a South Indian bride.
Articles Needed to Prepare this Bun
- Hair brush
- Hair texturizing spray
- Maang teeka to accessorize the braid
Styling Steps
- First of all prep the hair by spraying the hair texturing spray on the hair.
- Then side part the hair.
- Keep all the hair on the shoulder at one side.
- Take a big section of hair from the side and divide into two parts.
- Intertwine the section while forming French twist and adding hair from the forehead side.
- Repeat the previous step until the French twist reaches the neck nape. And then divide the hair into 3 parts forming a braid until the hair strand end.
- Close the hair strand end with a hair elastic.
- In order to provide a soft and elegant look, loosen the braid slightly.
- Finally, place the maang teeka on the forehead.
Fancy Clip Curly Bun
Most of the hairstyles suit or easy to make in long hair then what about the short hair girl! They also want to boast beautiful hair style and look attractive on their wedding day. If you are a short hair girl then don’t worry as we have brought here the best hair style for your wedding day. Just read on to know more.
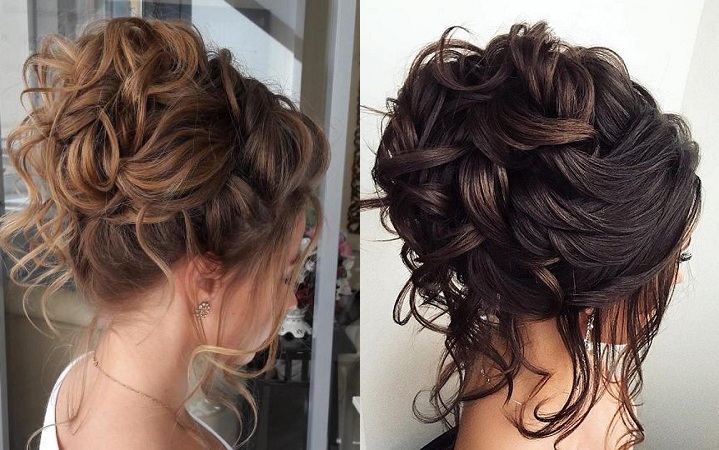
Articles Needed to Prepare this Bun
- Hair brush and fine tooth comb
- Hair Straightener
- Hair curler
- Medium sized bump it
- Bobby pins
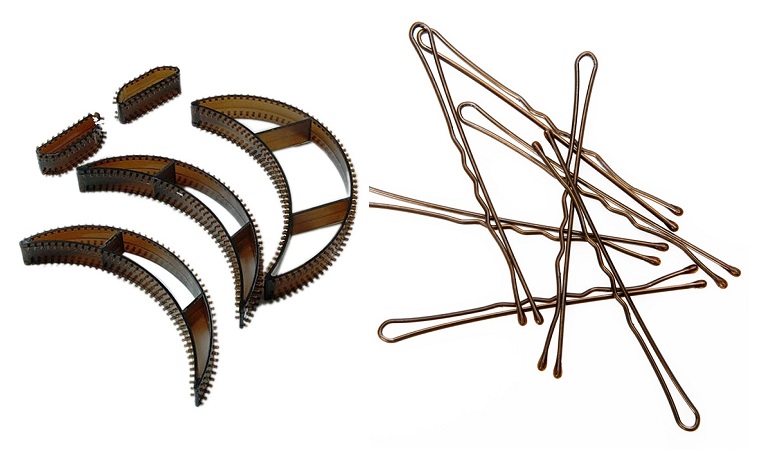
Styling Steps
- Prep the hair by applying heat protected and straightening it.
- Take a 1 inch section of hair and curl the lower half. Then part the hair on one side.
- Take the bump it and fix it under the hair in the crown area of the head. Then comb the lower part of the hair with a fine toothed comb to smoothen it.
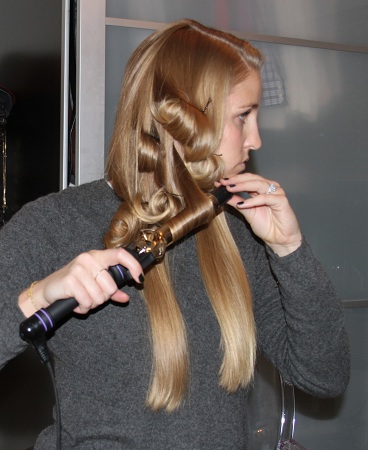
- Come to the front part and take 2 inch portion of the hair. Twist the hair for few times and tug it with a pin on the back of the head.
- Perform the previous step on the other side of the partition.
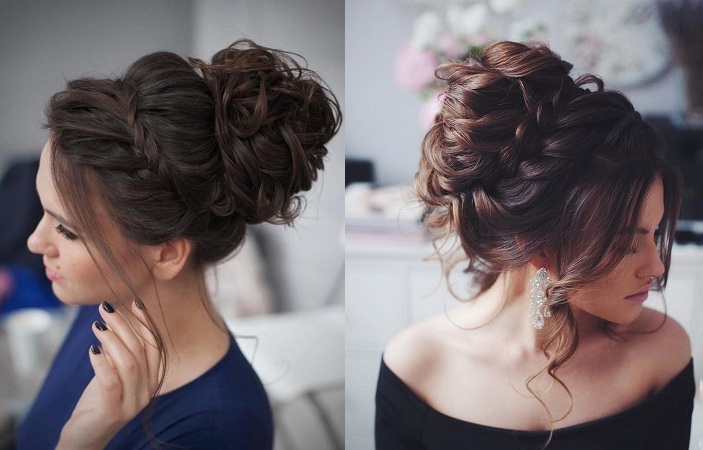
- Now take a fancy hair clip and clip it at the back.
- To finish the style, pick a curl and leave it hanging on the face for the extra glamour.
Floral Braid
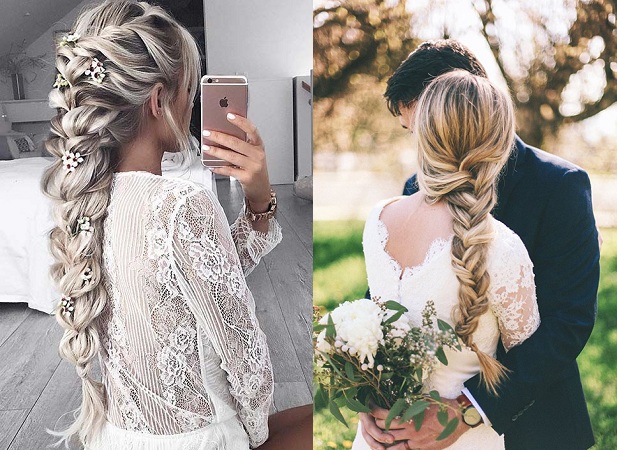
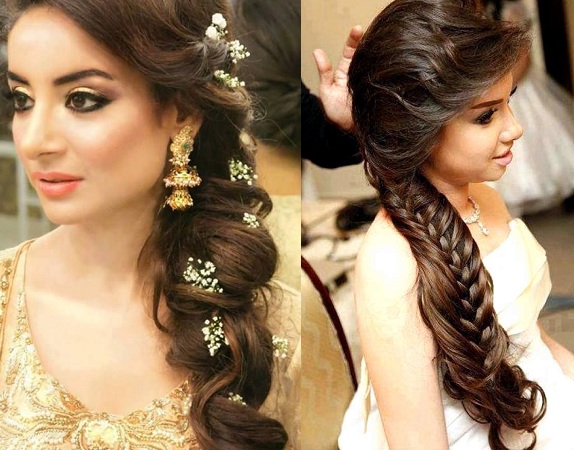
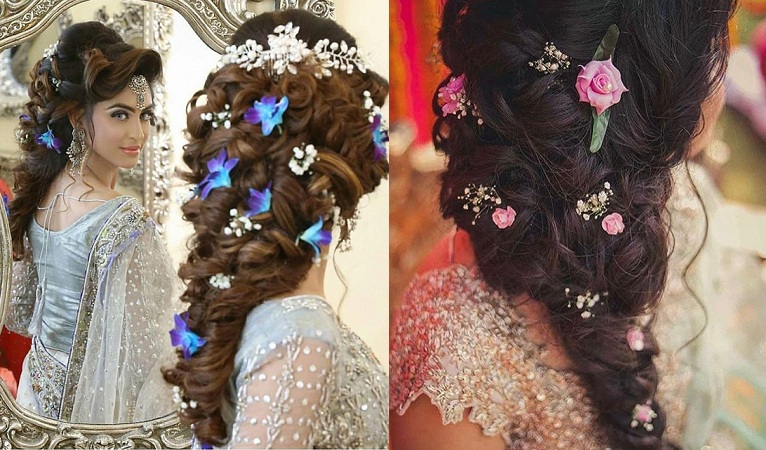
Braid looks classy and chic with all attires. And they look good on every occasion. Lately, they are in so much fashion too. How can we miss this hairstyle then? Beautiful braid with few curls adorned with pastel flowers is just enough to steal the show. Just hold your breath, here are the steps to make this enchanting hair style.
Articles Needed to Prepare this Bun
- Hair comb
- Heat protectant
- Hair curling iron (2 inch)
- Bobby pins
- Hair elastic
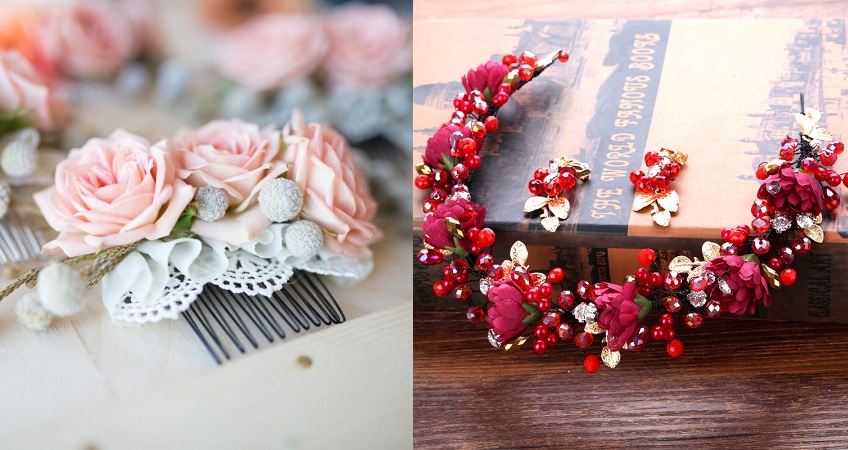
- Artificial flowers for decoration
- U pins
Styling Steps
- Prepare your hair beforehand by washing, drying and applying the heat protectant.
- Take out 2 inch portion of the hair and curl them. Make a side partition.
- Assemble the front portion of the hair on the head top and fix them with the help of bobby pin.
- Take the hair on one side and braid in regular style to for a side braid.
- Tie the bottom of the hair with a hair elastic.
- Here comes the final touch up. Adorned the braid with artificial flowers throughout the braid with U pins.
- Pick few hair strands and leave them hanging on the face to give a finishing touch to the hair style.


